Are you looking to track visitor interactions and generate analytics information on external, non-Sitecore websites? If yes, then Sitecore’s Federated Experience Manager (FXM) is the module for you….
But wait.
Before we delve into what can FXM can do, let’s have a look at situations where it can be used in real time projects.
- For New/Potential Sitecore Customers who want to use all analytical and personalization features to their websites hosted on other platforms.
Here are some potential scenarios, both provide valuable customer insights:
- Adding FXM in first phase of project, with a plan to move their websites into Sitecore Platform at a later phase.
- Migration project to Sitecore CMS is underway, add FXM integration to their existing website till the actual Sitecore CMS project goes live.
-
For Existing Sitecore Customers who want to combine all customer interaction data of their non-Sitecore websites into a single customer database. Those non-Sitecore websites could include their micro sites or child sites hosted on another platform. This will give marketers the opportunity to view all analytical data in one place (Sitecore analytical reports) and target visitors with more personalized content.
Getting Started with FXM – Connection to external website
Fortunately, the FXM add-on is already packaged as part of the standard Sitecore 9 XP installation (XP/XPSingle topologies). But if you’re not operating on that version, you’ll need an XP license with analytics features enabled. Once the website entry is added into Sitecore FXM, the next step is to add a script tag inside the actual website you want to track. The script tag preferably needs to be added at the end of the body tag, which will ensure the entire DOM is loaded when script call is made to Sitecore Content Delivery (CD) server.
The script tag that’s added in a target website is referred to as a beacon. This beacon can be found in Sitecore FXM. Once located, a success message will be displayed in the UI as below: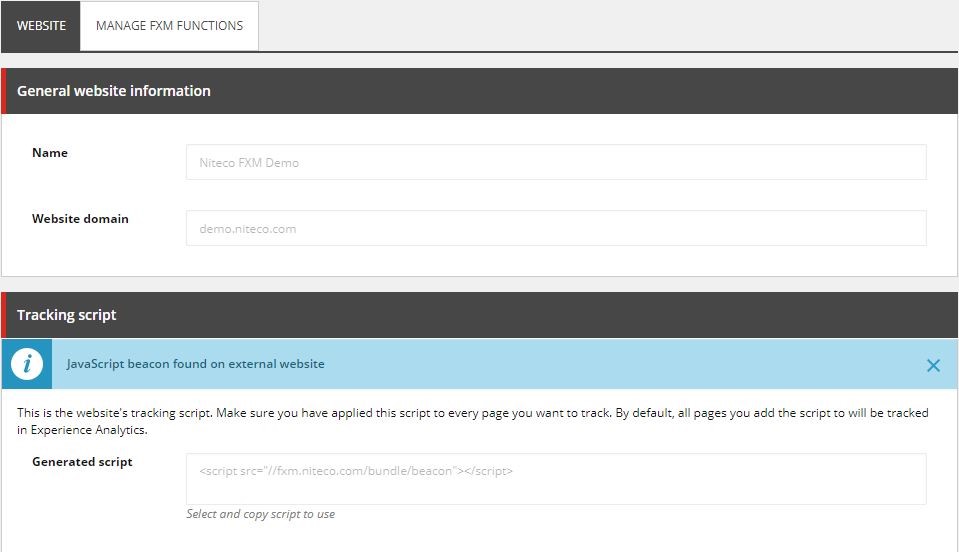
Applying FXM Actions
Once the connection is established, all the visitor data will appear in Sitecore xDB. Content authors can go into Experience Editor and apply Sitecore personalization techniques just as they would do for a regular Sitecore CMS website.
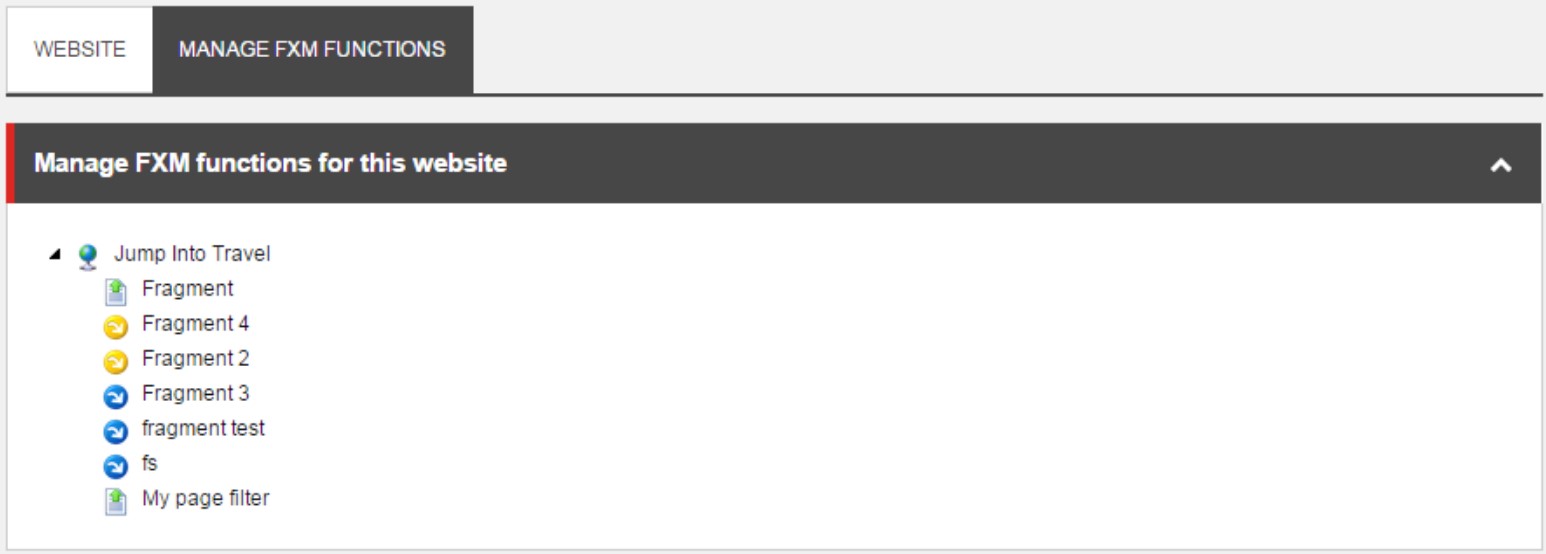
Marketers can carry out major actions in FXM Experience editor. And any marketing attribute (Campaign/goals/Events/Outcomes) can be applied to each of the individual actions below:
- Add Page Filter => This is just like filter condition where you can specify any marketing attribute matching the page URL’s.
- Capture Click Action => can capture client click on web page and assign a marketing attribute
- Assign profile card => Individual profile cards can be added to specific or group of pages, this can useful when you want to build PERSONAS.
- Add Placeholder => This is where content can be replaced or added above and below any contents on target website. This is most commonly used feature out of all the ones.
But remember…
Digital strategies need to be defined first either directly by the digital marketing team or with the help of experienced Sitecore partners, making use of available FXM functions. Once a visitor achieves a specific goal/outcome/persona defined in Sitecore, marketers can make good use of personalization rules, changing the content of a target website accordingly.
Here’s an example of a personalized condition based on a goal during the current visit:

How does FXM working internally?
Like most digital optimization tools available in market, Sitecore makes use of client cookies. If the visitors come for the first time, a contact id is generated internally and a cookie named “SC_ANALYTICS_GLOBAL_COOKIE” is set on browser. A URL parameter is sent through subsequent XHR requests made to Sitecore server. Data will be flushed to xDB updated only after session timeout. Timeout can be configured in web.config (standard ASP.NET way) on Content Delivery (CD) server. Default session timeout is 20 minutes.
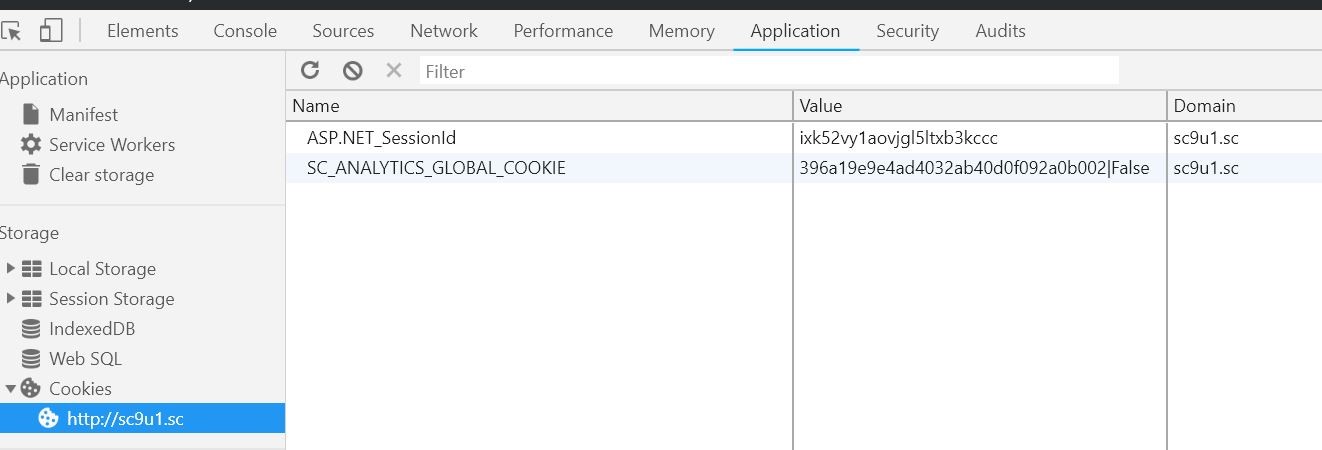
For development purposes or testing on LIVE site: We can by-pass this session timeout by adding a custom page, which will have a logic to end session forcefully.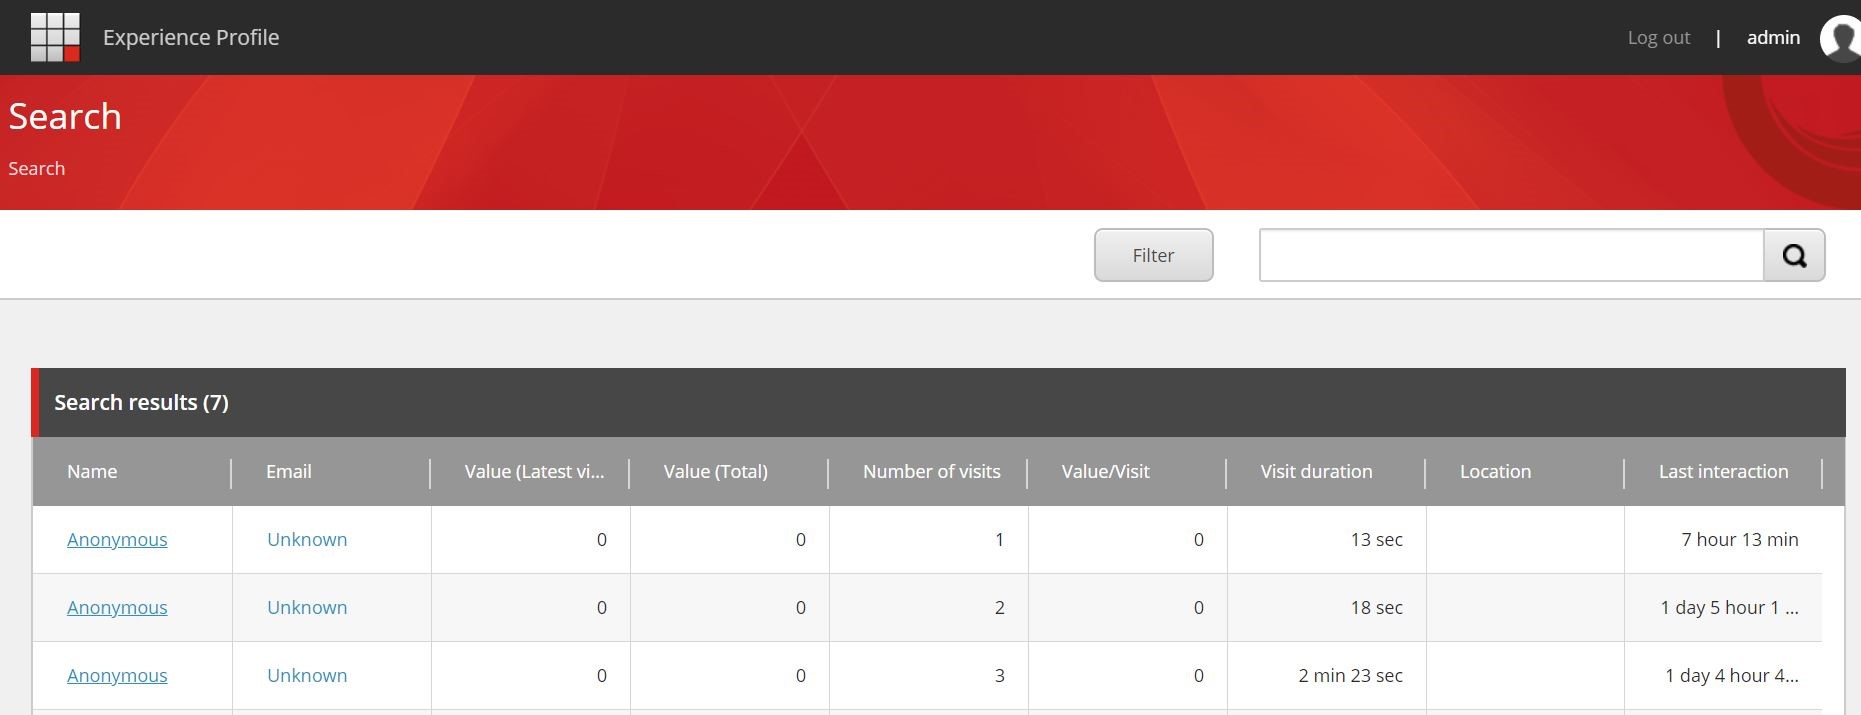
Anonymous vs Registered Visitor
By default, Sitecore FXM adds all the visitor information under “Anonymous” contact in xDB. Starting from Sitecore 9 release, anonymous contact indexing is turned OFF by default. To enable anonymous contact tracking, we need to enable the configuration setting and re-index the “xDB” index (Solr/Azure Search).
If the target website already has a way of identifying known contacts, for instance, or the website has login or registration pages, we can use that identifier and tell Sitecore that this visitor is a known or registered contact. To achieve this, we can write some custom login method that will be exposed through JavaScript beacon service. The target website needs to call this login method manually once the user successfully logs into their website. This will ensure all anonymous contact interactions are merged into registered contact details.
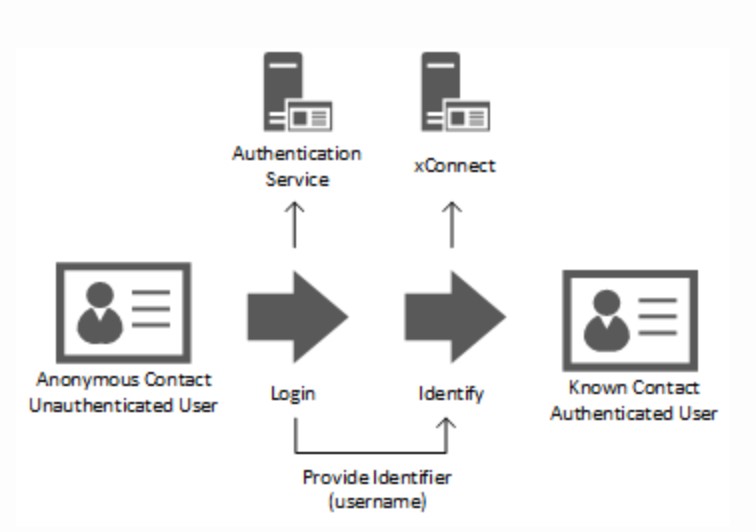
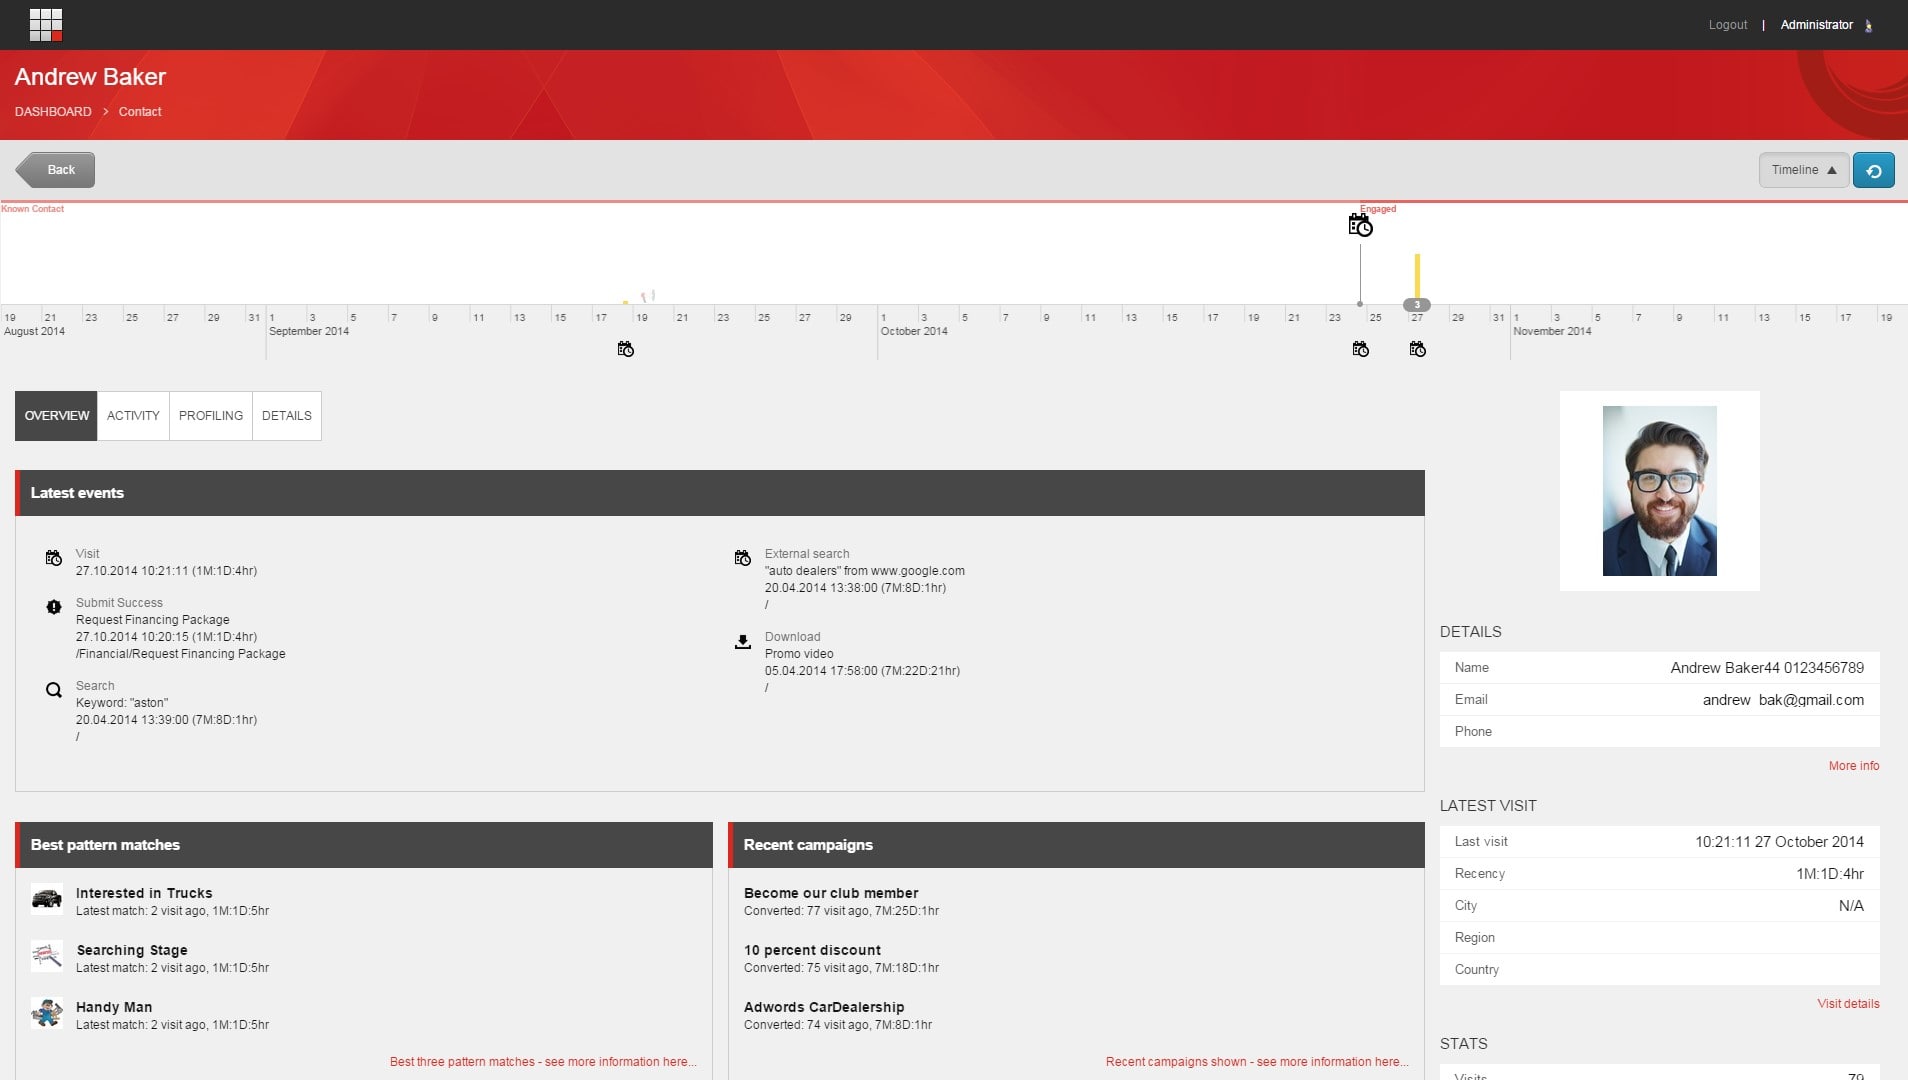
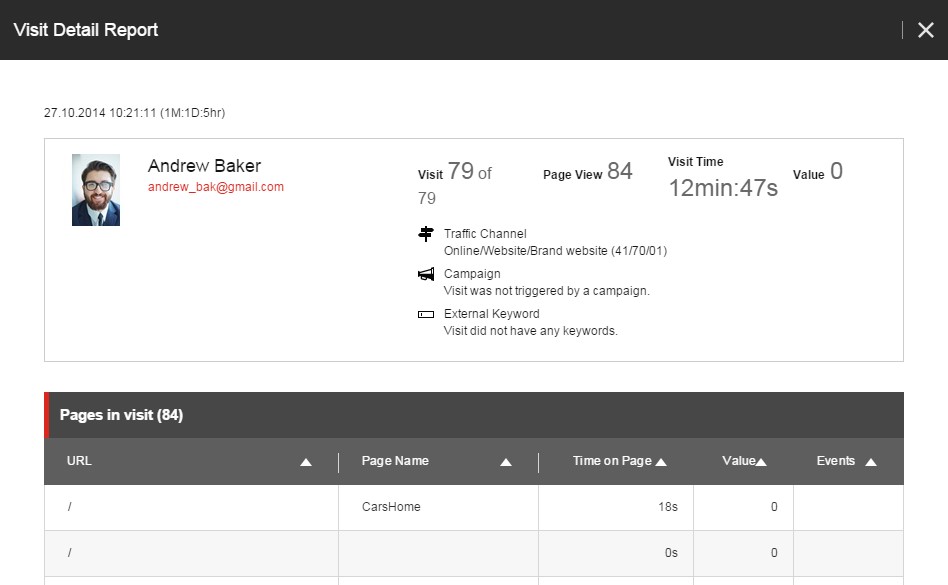
By extending the Sitecore API and integrating it with the target website, full contact details from the Experience Database (xDB) will appear in the experience profile. Below is an example of a contact in Experience Profile:
Reporting
FXM analytical reporting is the same as the normal Sitecore website reporting, except the “Path Analyzer” reports, which won’t work for FXM.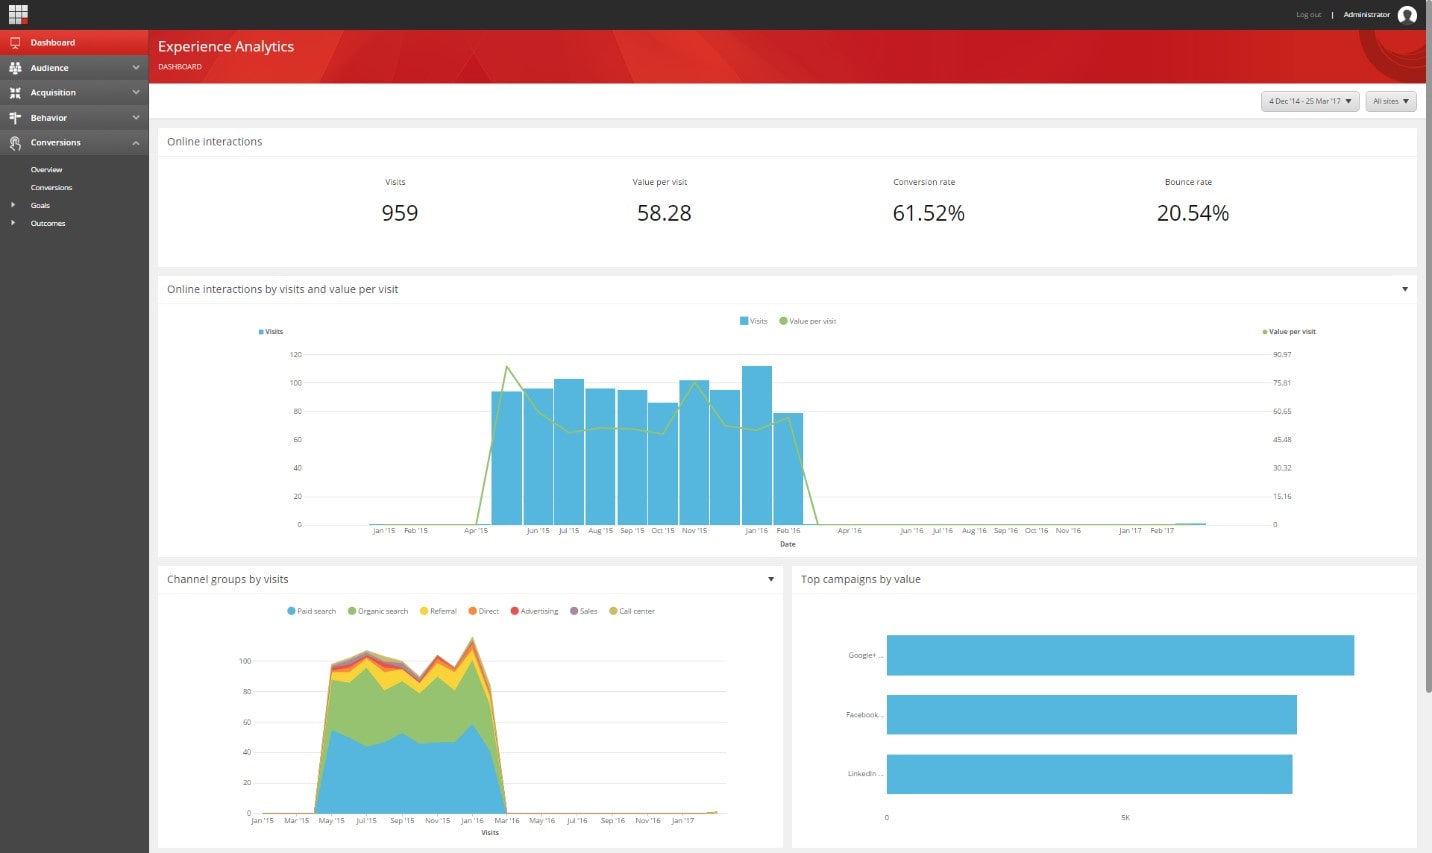
Limitations of FXM
FXM has some limitations compared to a Sitecore CMS website. Some notable missing features include:
- Content testing (M/V and A/B testing)
- Path Analyzer
- Workflows
- Target websites which use RequireJS and Cookie-based authentication.
Niteco recommends you refer to the Sitecore documentation for a complete list of requirements and limitations before you start the project. Alternatively, get in touch with us for a full consultation.
to transform your business and drive results?


